Ever spent an entire weekend laying gorgeous hardwood floors, only to watch them warp, squeak, or—worst of all—lift off the subfloor like a disgruntled yoga mat? Yeah. I’ve been there. Twice. The first time, I used a generic “multi-surface” glue from the hardware store labeled “for floors.” Spoiler: it wasn’t. My oak planks started buckling by Tuesday, and my spouse gave me that look—you know the one. Like I’d forgotten our anniversary… again.
If you’re installing wood flooring, your adhesive isn’t just another supply—it’s the silent guardian holding everything together. And not all adhesives are created equal. In this guide, you’ll learn exactly how to choose, apply, and troubleshoot adhesive for wood flooring, based on real-world installations, industry standards (like ASTM F960 and ANSI A118), and hard-won lessons from floors I’ve personally laid (and occasionally repaired at 2 a.m.).
Table of Contents
- Why Does Adhesive Matter So Much for Wood Floors?
- Step-by-Step: How to Choose & Apply the Right Adhesive
- 7 Best Practices for Flawless Adhesive Bonding
- Real Case Study: Engineered vs. Solid Wood in a Humid Coastal Home
- FAQs About Adhesive for Wood Flooring
Key Takeaways
- Not all flooring adhesives work with all wood types—engineered, solid, and parquet each have specific needs.
- Moisture-cured urethane adhesives offer superior bond strength and flexibility for most residential wood flooring.
- Subfloor moisture content must be tested (not guessed) before applying adhesive—ideally below 12% for wood, per NWFA guidelines.
- Using the wrong trowel notch size is a top cause of adhesive failure—too little = poor coverage; too much = oozing seams.
- EPA-compliant, low-VOC adhesives (like Bostik’s GreenForce or Loba’s Supra AT) protect indoor air quality without sacrificing performance.
Why Does Adhesive Matter So Much for Wood Floors?
Wood flooring isn’t tile or vinyl—it’s a living, breathing material that expands and contracts with humidity changes. If your adhesive is too rigid, it cracks under stress. Too weak, and your floor delaminates. Get it right, and you enjoy decades of silent, seamless beauty.
According to the National Wood Flooring Association (NWFA), improper adhesive selection accounts for nearly 23% of all post-installation wood floor failures. That’s not chump change when you’re dropping $8–$15 per square foot.
Here’s the kicker: many DIYers grab whatever’s cheapest or labeled “for wood” without checking compatibility with their specific wood product or subfloor type (concrete? plywood? OSB?). Big mistake. For example, water-based acrylic adhesives can trap moisture beneath solid hardwood on concrete slabs, leading to cupping within months.
Optimist You: “Just pick a reputable brand!”
Grumpy You: “Ugh, fine—but only if I get to rant about ‘universal’ adhesives next.”
Step-by-Step: How to Choose & Apply the Right Adhesive
What type of wood flooring am I installing?
Solid hardwood? Engineered? Parquet? Each reacts differently to adhesives:
- Solid hardwood (¾”): Rarely glued directly—usually nailed. But if you’re gluing over concrete (no sleepers), use a high-performance urethane adhesive rated for solid wood (e.g., Bona R850T).
- Engineered wood (½” or less): Most commonly glued down. Requires flexible, moisture-resistant adhesives like moisture-cured urethanes.
- Parquet or exotic woods: Often need specialty adhesives due to density or oil content (e.g., Brazilian cherry).
What’s my subfloor made of?
Concrete? Plywood? Gypcrete? This changes everything:
- Concrete: Must test for moisture emission (use calcium chloride test or RH probe). If >3 lbs/1,000 sq ft/24 hrs (ASTM F1869), you need a moisture-blocking adhesive or vapor barrier.
- Plywood: Ensure it’s exterior-grade, securely fastened, and flat (<¼” variation over 10 ft). Use standard urethane adhesive—no moisture concerns unless basement-level.
How do I apply it correctly?
- Acclimate wood: Keep planks in the room 72+ hours before install (NWFA standard).
- Test subfloor moisture: Concrete RH ≤75%; wood subfloor ≤12% MC.
- Choose trowel notch: Typically 1/4” x 1/4” V-notch for engineered wood—but check adhesive specs! Wrong notch = bond failure.
- Work in small sections: Spread adhesive over 50–100 sq ft at a time. Wood adhesive skins over in 20–40 mins.
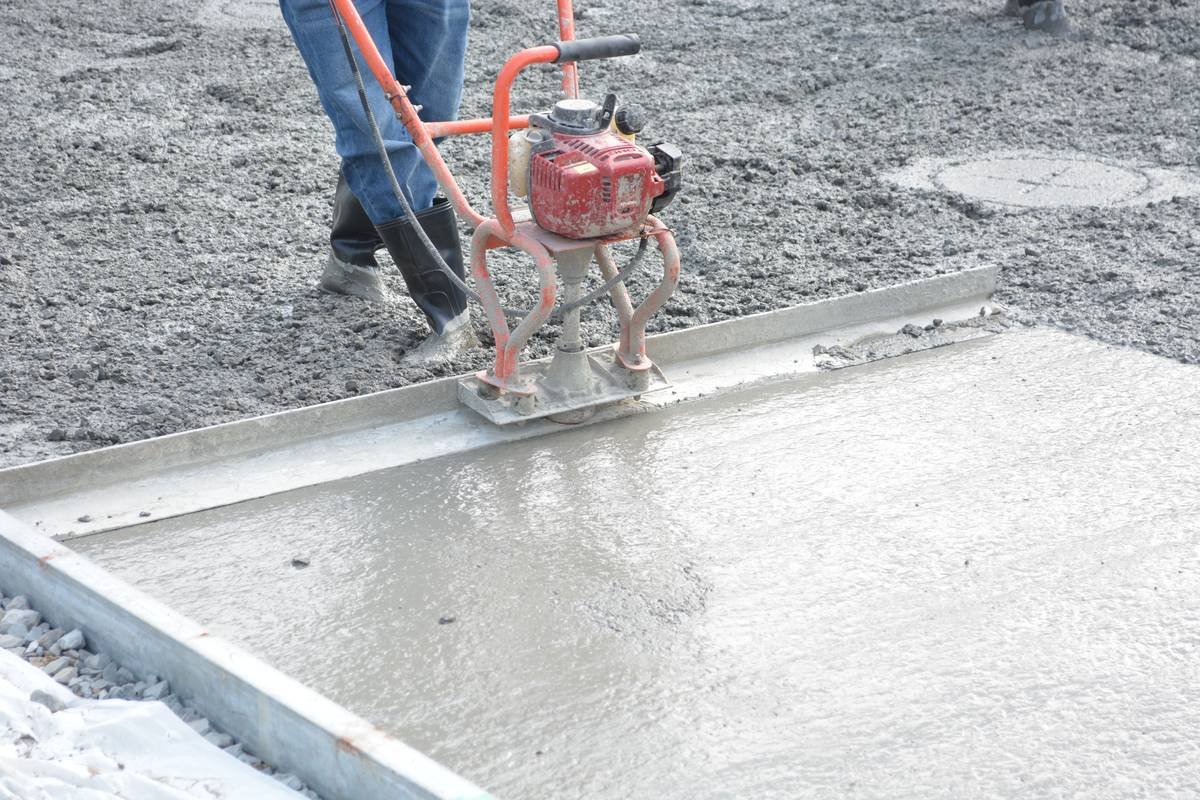
- Roll after placement: Use a 100-lb roller within 2 hours to ensure full contact—critical for warranty validity.
7 Best Practices for Flawless Adhesive Bonding
- Prioritize flexibility: Wood moves. Choose adhesives with ≥60% elongation (per ASTM D429 Method B).
- Avoid “all-in-one” claims: That $12 tub labeled “for wood, tile, and laminate”? It’s compromising somewhere. Stick to wood-specific formulas.
- Check cure time vs. foot traffic: Some urethanes take 24 hrs to cure enough for light traffic—but 7 days for full bond strength. Don’t rush!
- Temperature matters: Most adhesives require 60–80°F ambient temp during and after application. Cold = slow cure = weak bond.
- Seal seams on engineered planks: If your engineered floor has micro-bevels, use a bead of adhesive in the groove for extra stability (per manufacturer instructions).
- Wear PPE: Urethane adhesives release isocyanates during cure. Nitrile gloves + respirator = non-negotiable.
- Keep receipts and batch numbers: Needed for warranty claims if issues arise later.
⚠️ Terrible “Tip” Disclaimer
“Just add more adhesive—it’ll hold better!” Nope. Excess adhesive squeezes into joints, preventing proper expansion and causing buckling. It also creates a sticky nightmare during cleanup. Less is more—use the recommended spread rate (usually 40–60 sq ft per gallon).
Real Case Study: Engineered vs. Solid Wood in a Humid Coastal Home
Last summer, I helped a client in Charleston, SC, install flooring in a beachfront condo with 70% average humidity. They wanted wide-plank white oak—but solid wood was a no-go due to moisture swings.
We chose ¾” engineered white oak with a Baltic birch core. For adhesive, we selected Loba Supra AT—a moisture-cured urethane with 80% elongation and built-in moisture resistance (RH tolerance up to 95%). Subfloor was concrete, tested at 2.8 lbs MVER—within spec.
Post-installation: After 6 months (including a humid August), zero gapping, lifting, or squeaks. The secret? Precise troweling (1/4” x 1/4” V-notch), immediate rolling, and maintaining 45–55% indoor RH with a dehumidifier.
Contrast this with a neighboring unit where a contractor used a cheap acrylic adhesive “to save budget.” By month 3, the floor had visible humps near the sliding doors. Moisture got trapped, adhesive failed, and the whole thing needed replacement. Cost: $4,200 in repairs—and a very unhappy homeowner.
FAQs About Adhesive for Wood Flooring
Can I use construction adhesive for wood flooring?
No. Construction adhesives (like Liquid Nails) aren’t formulated for the flexibility, coverage, or long-term resilience needed for flooring. They often lack IIC/STC ratings and void wood floor warranties.
How long does wood floor adhesive take to dry?
“Dry to touch” ≠ fully cured. Most urethane adhesives allow light foot traffic in 12–24 hours but need 7 days for full cure. Always follow manufacturer specs—Bostik recommends 72 hrs before placing rugs.
Is low-VOC adhesive as strong as traditional options?
Yes. Modern low-VOC urethanes (e.g., Sika AcouBond, Franklin Titebond Ultimate) meet or exceed ASTM D3498 shear strength standards (≥200 psi) while emitting fewer VOCs than older solvent-based formulas.
Do I need adhesive for floating wood floors?
No—floating floors click or lock together and aren’t glued to the subfloor. But you do glue the tongue-and-groove seams for stability (use seam adhesive, not subfloor adhesive).
Conclusion
Choosing the right adhesive for wood flooring isn’t about grabbing the shiniest tube off the shelf—it’s about matching chemistry to your specific wood, subfloor, and climate. Test moisture, respect cure times, skip the “universal” gimmicks, and always—always—roll your floor after installation.
When done right, your wood floor won’t just look stunning—it’ll stay silent, stable, and structurally sound for generations. And maybe, just maybe, you’ll avoid that dreaded “spouse look” I mentioned earlier.
Like a dial-up modem connecting in 2003—slow, noisy, but worth the wait—your perfect wood floor starts with the right adhesive.
Hardwood dreams,
Glue holds tight through humid streams—
No creaks at dawn.